Why Photos in iCloud and in iMac Photo App Are Not Up to Date
If the pictures on your iMac Photo app and those in iCloud are not up to date, it can only mean one thing: your photos are not uploading to iCloud. There are several reasons which can cause this issue. The most common ones include:
iCloud Photo Library not being enabled.
Lack of enough iCloud Storage.
A network connectivity issue.
Your device is having trouble connecting to your iCloud account due to an Apple ID or sign in issue.
How to Fix Photos Not Uploading to iCloud
There are different solutions which can be applied to fixing the photos not uploading to iCloud problem. Whether these solutions will work for you is largely dependent on the reason as to why the photos are not uploading. Here, we have outlined the most common solutions. Start with the first solution and then move on to the next if the first one does not work for you.
Method 1: Enable iCloud Photo Library
The reason as to why your photos are not uploading to iCloud may be because you have not enabled your iCloud Photo Library. The following steps should help you fix this issue on your iPhone/iPad and Mac.
On iPhone/iPad:
Go to your device Settings> Apple ID> iCloud> Photos.
Toggle on iCloud Photo Library.

On Mac:
Go to System Preferences > iCloud, then check iCloud Photo Library.

Method 2: Check iCloud Storage
When your iPhone or iPad uploads your photos to iCloud, they use your storage space. Most iCloud users have limited iCloud storage space. This means that your storage space may become full without you knowing. So this is another reason for photos not uploading to iCloud. To check whether your iCloud storage is the issue, follow the steps below:
Go to your iPhone or iPad Settings, tap on Apple ID>iCloud.
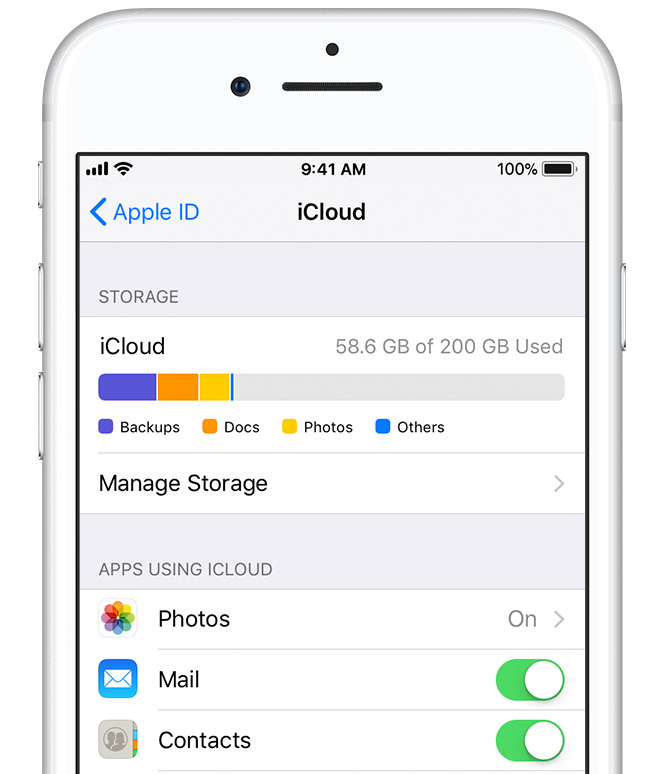
You should see the storage percentage you have already used. If you have already used all your storage space, you can upgrade to another plan that offers you more storage or delete old backups to free up space.
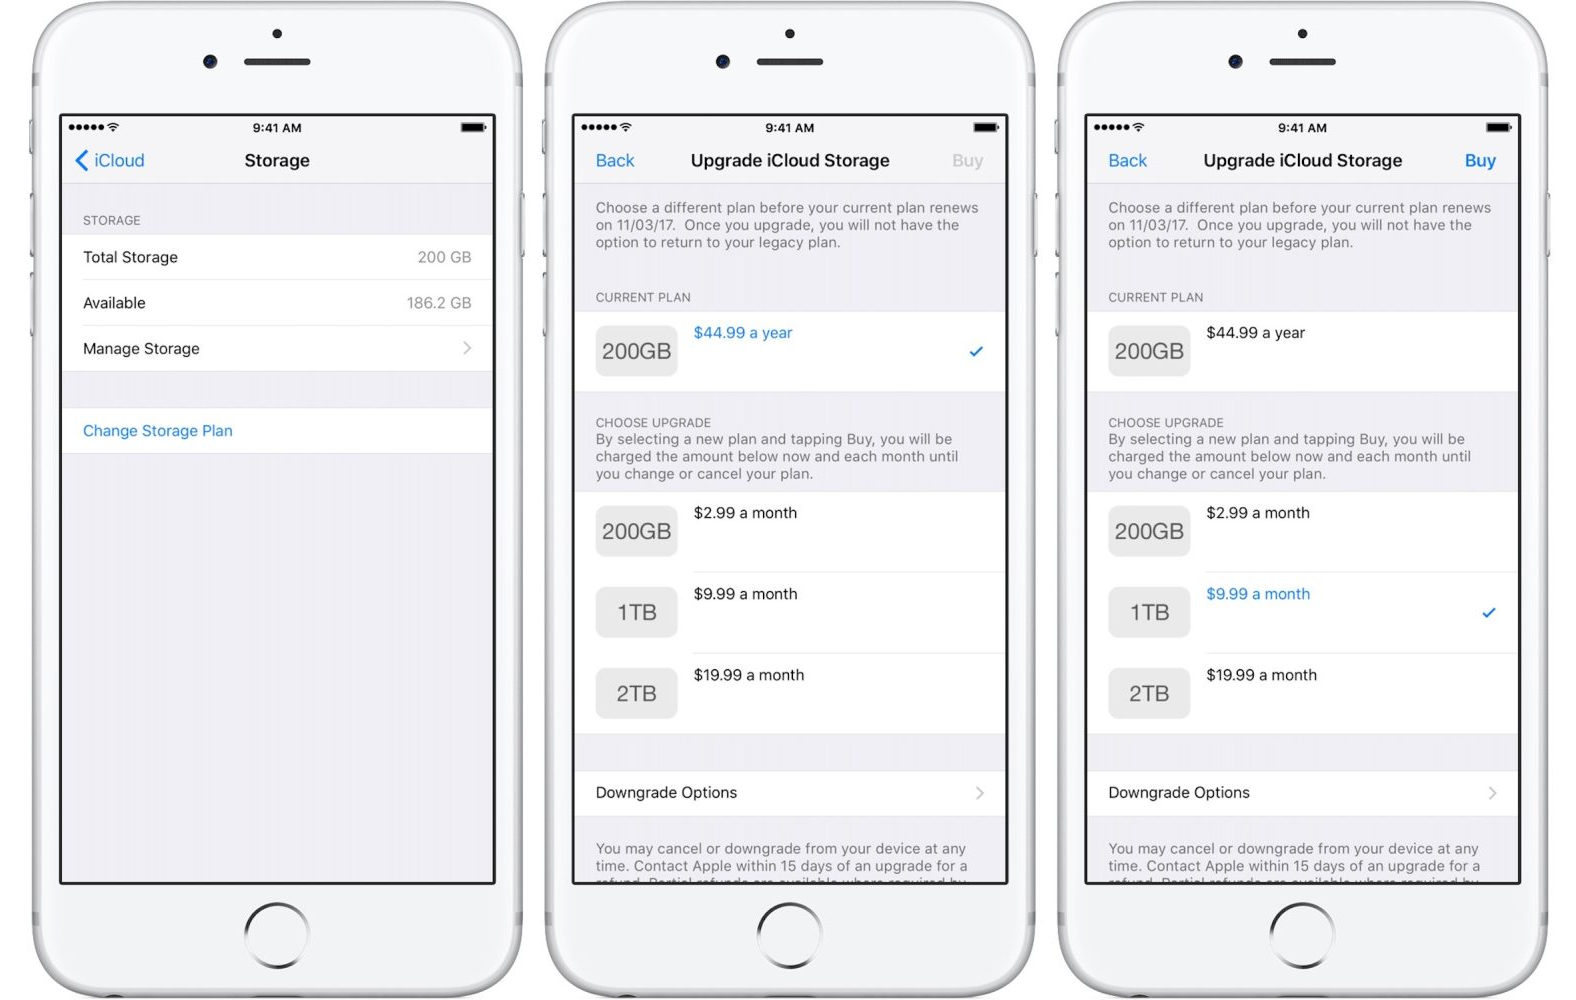
To Upgrade, follow the steps below:
Go to Settings>Apple ID>iCloud.
Under iCloud, tap on Manage Storage>Change Storage Plan.
Select an option, then click on Buy on your top-right corner.
To delete old Backups, follow the steps below:
Go to Settings>Apple ID>iCloud.
Select Manage Storage, tap Backup.
Select the device you wish to delete its backup.
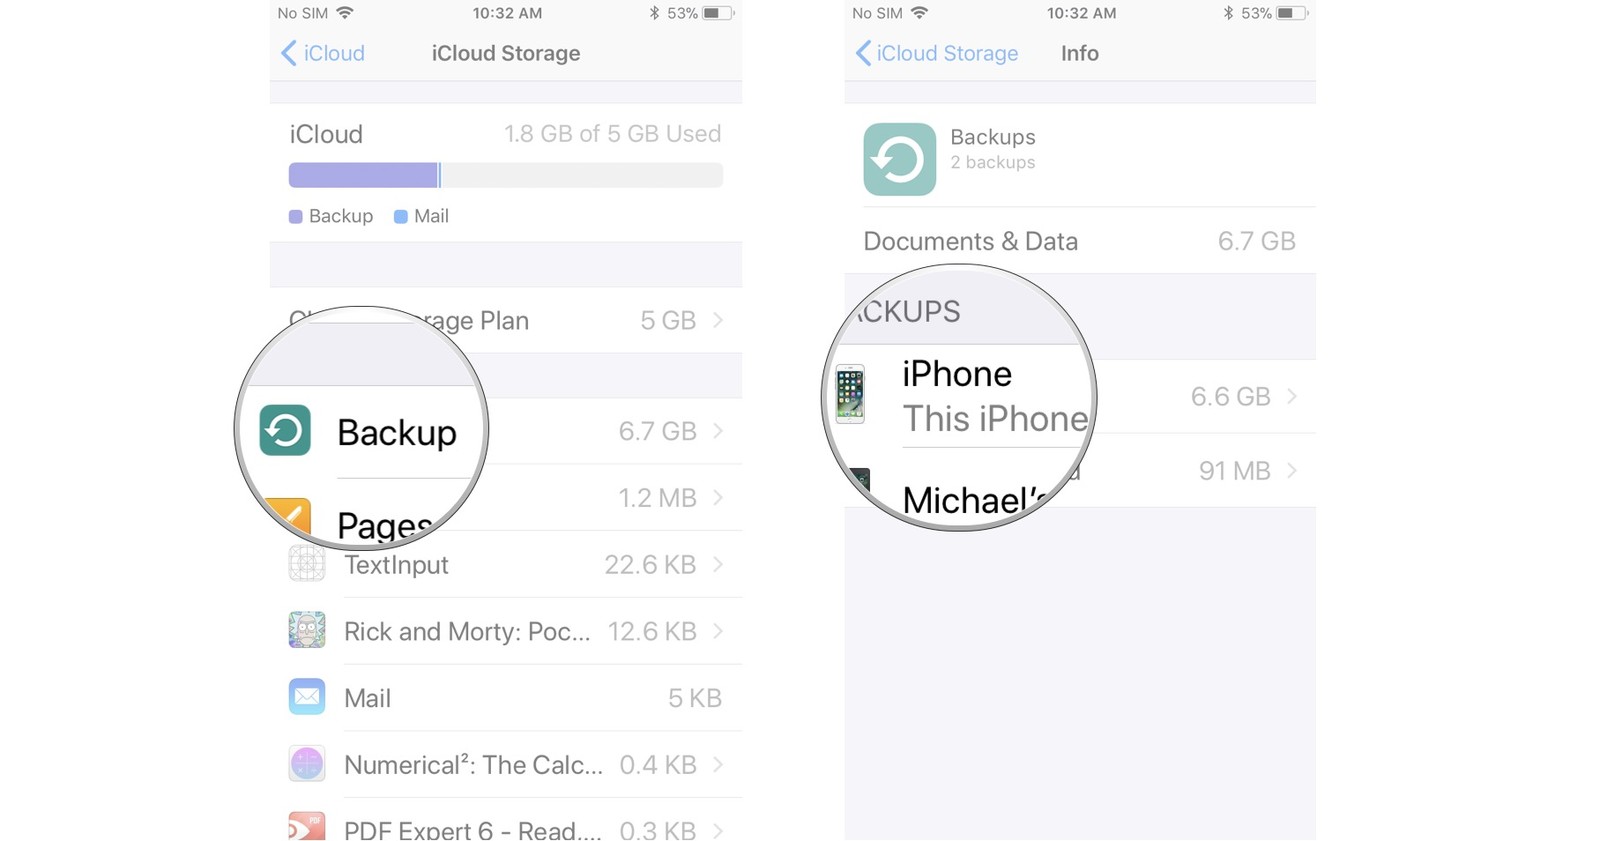
Tap Delete Backup at the bottom and then click Turn Off & Delete.

Method 3: Check Your Apple ID
Sometimes the reason for your photos not uploading to iCloud may be because you are using the wrong Apple ID on your device. To check whether you are using the correct Apple ID, follow the steps below:
Go to Settings, tap your name. This should be at the top of your screen.
If you notice that you are using the incorrect Apple ID, you can easily switch to the correct one. Or you can simply sign out and re-sign in your iCloud account to fix your problem.
Method 4: Check Your Internet or Wi-Fi Connection
Your iOS device has to be connected to Wi-Fi for your photos to be uploaded to iCloud. iCloud will not work with network data since it can consume too much data. To connect to a Wi-Fi network, follow the steps below:
Visit the device Settings>WLAN and then toggle on WLAN.
Tap the name of the Wi-Fi you would like to join.
Enter a password if prompted to.
Gihosoft iPhone Data Recovery is a professional iPhone Data Recovery software to get back all your lost text message, photo, video, call history, note, contact and more from iPhone/iPad/iPod Touch. It offers a full solution to recover your lost data in different tough situations. Besides recovering data directly from iPhone, iPad and iPod touch, it also allows you to recover data from iCloud and iTunes backup files.